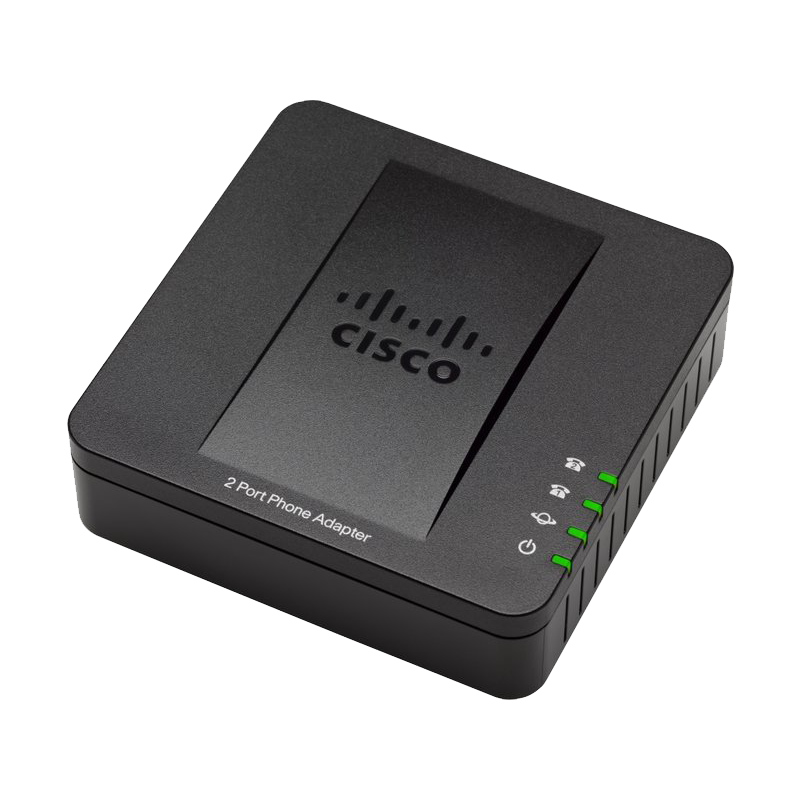
The Cisco SPA112 is one of Cisco’s most widely deployed ATAs. It has two FXS ports and a single 100BaseT WAN network interface (no router).
EOL NOTICE: As of 01-JUN-2020, the SPA1x2 series has reached both its end of support and end of sale deadlines set by Cisco. The next generation and recommended alternative for the SPA112 is the Cisco ATA191-MPP and for the SPA122 the Cisco ATA192-MPP.
SECURITY NOTICE: We do not recommend exposing the web interface of this unit to the Internet, but if you must, remember to change the password on the cisco (user) account as well as the admin account.
1. Firmware
Update to the latest firmware for the Cisco SPA before connecting to our service. You can download the current production release from the link above. Once downloaded, you'll navigate to "Administration -> Firmware Upgrade" and click the "Browse" button. Select the file you downloaded from Cisco's website, and then click "Upgrade" once this has completed your device will reboot. You can then move on to the steps below.
2. Network Settings
Click "Voice" in the primary navigation bar, and then select either Line 1 or Line 2 depending on your circumstances. In our example we use Line 1.
Configure the following options under the "NAT Settings," "Network Settings" and "SIP Settings" menus. If you have more than one device at a site, each device at a site should have a unique port >= 5080.
Configuration Option Required Value NAT Keep Alive Enable : Yes Network Jitter Level : very high Jitter Buffer Adjustment : No Restrict Source IP : Yes SIP Port : 5080
3. SIP Registration
Under "Proxy & Registration" and "Subscriber Information" configure the following options:
Configuration Option Required Value Proxy : sip.t38fax.com:5080 help Register Expires : 300 User ID : Trunk ID from The T38Fax Portal help Password : Trunk Password from The T38Fax Portal help
4. Feature Settings
In the "Supplementary Service Subscription" section, enter the following options:
Configuration Option Required Value Call Waiting Serv : No Three Way Call Serv : No
5. Fax Settings
In the "Audio Configuration" section, enter the following options:
Configuration Option Required Value FAX Passthru Method : ReINVITE FAX T38 ECM Enable : Yes Echo Canc Enable : No FAX Enable T38 : Yes FAX T38 Redundancy : 3 Fax Tone Detect Mode : Callee Only
6. The Second Line
It is possible to use the SPA’s second line to service two separate fax machines, with two separate fax numbers, over one T38Fax trunk. Incoming faxes are delivered to each respective fax machine directly, and on the outbound side each machine appears to be its own separate entity complete with an independent Caller-ID.
If you do not plan to use the second port on your ATA, skip this section entirely and proceed to the next step (Fax Machine) to configure attached fax machine(s).
Navigate to the "Voice -> Line 2" section, and fill it out exactly the same as Line 1. Line 1 and Line 2 must use the same SIP port. Next, locate the "Proxy and Registration" and "Subscriber Information" sections. Make the following changes:
Configuration Option Required Value Register : No Make Call Without Reg : Yes Ans Call Without Reg : Yes Password : SIP Password (Same as Line 1) Auth ID : Line 1's number User ID : Line 2's number Use AuthID : Yes See the screenshot below for a better understanding. In our example, 16467511475 is our Trunk ID and Line 1's number, and 12013562252 is an additional DID on that account, which will be Line 2's number.
7. Configuring the Fax Machine
Finally, configure your fax machine to work properly with your Power-T.38 SIP Trunk. Review the following guide for details:
Recommended Fax Machine Settings
Why 5080? Learn More
Enter your SIP Username here. (This should be a DID assigned to your account that is available for registration. IE: 18043027000)
Still Confused? Learn More!
Enter the SIP Password for the SIP Username you entered above.
Still Confused? Learn More!


